This website uses cookies so that we can provide you with the best user experience possible. Cookie information is stored in your browser and performs functions such as recognising you when you return to our website and helping our team to understand which sections of the website you find most interesting and useful.

Stilton & Mushroom Pie
3rd June 2016
Portobello Burgers with Blue Cheese and Caramelised Red Onions!
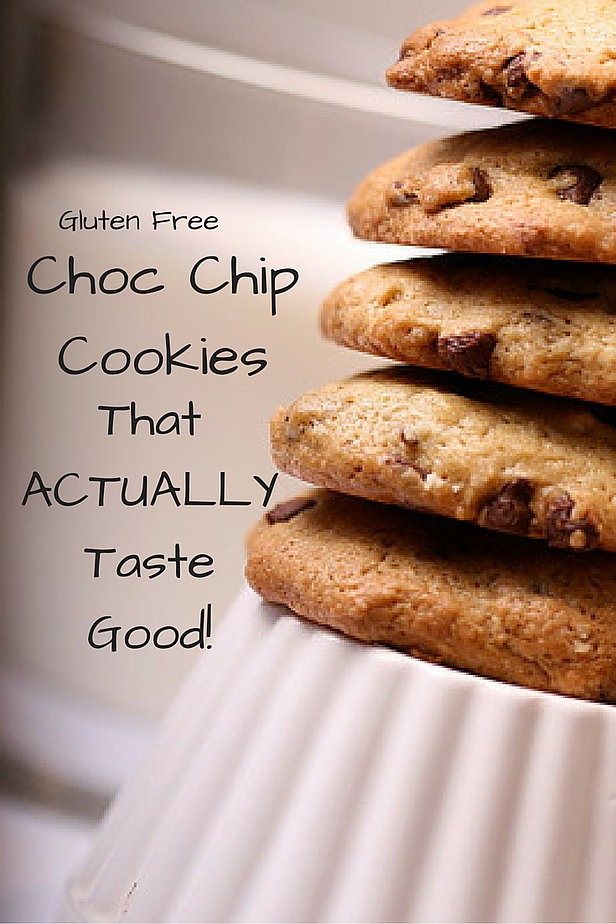
3rd June 2016Gluten Free Choc Chip Cookies – That ACTUALLY Taste Good!

As I have mentioned before, my mum and sister have recently decided to go Gluten Free and over the past couple of months we have been experimenting with loads of different ingredients and recipes and taking note of our favourites to make again and again and making serious notes about ones we would never touch again in a million years!!

What I am not sure whether I mentioned is the fact that they are also both trying to go processed sugar free which when you combine with a gluten free and vegetarian diet as well, is to be quite frank a bit of a bi**h!! One thing we are having serious problems with finding, is sweet snacks and desserts that are not only healthy but also hit all of these dietary markers! A lot of the time, things are grainy or just genuinely do not taste good. However, I blew everyone’s socks off this weekend when I came up with my own Gluten & Processed Sugar Free Choc Chip Cookies that ACTUALLY taste good. I have since had to make several batches to ensure we have a good supply. Whilst they are not incredibly healthy from a slimming point of view, they are full of “good” ingredients and hit every one of the dietary markers – are you ready to be blown away? Here we go…

Ingredients (Makes 15 – 20) :
150g Cooking Margerine
150g Coconut Sugar (use caster if just GF)
1 Egg, beaten
75g Cacao Nibs (use Choc Chips if just GF)
225g Plain White GF Flour

Method:
1. Preheat oven to 180 degrees. Put the butter and sugar into a large mixing bowl and mash together with a wooden spoon until creamy. Apparently this is called “Creaming!”
2. A little bit at a time, stir in the beaten egg until you have a sort of batter… DO NOT PANIC if it looks curdled because that can be fixed in a minute with a Mary Berry Tip!

3. Chuck in the Cacao Nibs and mix them round to ensure an even spread through the mix.
4. Next sieve in all the flour and give it a good mix to make sure all the flour is absorbed and you should end up with a thick dough. If it is really sticky to touch, add more flour until it is still wet but doesn’t stick to your skin.

5. Line a baking tray with parchment paper. Take clumps of dough and roll them into a ball in the palm of your hand. Place eat one evenly spaced across the baking tray and using 2 fingers, press down and flatten them slightly. Be sure to leave enough room to allow them to spread a little.
6. Pop them in the oven for between 10 – 15 mins. The timing is up to you. I like mine soft in the middle so as soon as the cookie doesn’t sink when I press it in the middle I take them out and pop them on a cooling rack. These can be enjoyed hot or cold… I usually have to have one seconds from the oven – DELISH!!

There you have it folks a gluten and processed sugar free treat that ACTUALLY tastes good! I hope you enjoy and let me know what you think, won’t you?


7 Comments
I have some gluten free friends, so this is worth sharing! #foodiefriday
They really do look yummy and easy to make too. #foodiefriday
I’ve added these to pinterest to try later, look fab, never heard of coconut sugar before! #foodiefriday
Those look really moist and lovely. I’m a gluten eater but I have some friends who would love these. #foodiefriday
These do look really yummy. I’m always amazed by the things you can change in recipes! #foodiefriday
These look really good and different and like they would be nice even if you are a GF eater. #FoodieFriday
I’ve had some really nice gluten free biscuits and cakes. These look good! #foodiefriday