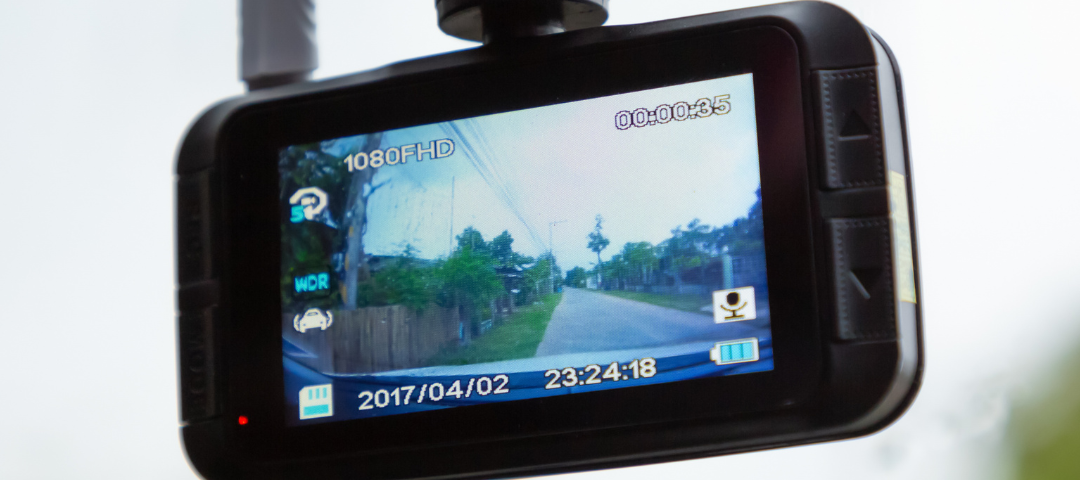
Imagine cruising down the road with a sense of security, knowing that you have a reliable eye watching over you. A dash cam can be your co-pilot, capturing every moment and providing peace of mind. But did you know you can build your own affordable dash cam? It might sound daunting, but with the right guidance, you’ll discover it’s not only possible but also a rewarding experience.
Let’s dive into the world of DIY dash cameras, and I’ll guide you through each step of the process. Ready to embark on this journey?
Gather Your Tools and Materials
Before you start, you’ll need a few essential items. You don’t have to break the bank for high-end gear. Here’s what you need:
– Raspberry Pi: This tiny computer will serve as the brain of your dash camera. – Camera Module: A compatible camera module for the Raspberry Pi will be your eyes on the road. – MicroSD Card: This will store your footage, so opt for a high-capacity one. – Power Supply: A reliable power source to keep everything running. – Enclosure: To house your setup and keep it safe.
These components might seem like a jumble of tech jargon, but don’t worry! Each piece plays a crucial role in creating your custom dash cam.
Assemble Your Dash Camera
Now comes the fun part—putting it all together. Start by connecting the camera module to the Raspberry Pi. It’s like adding the finishing touch to a cake, making sure the camera is securely attached and positioned correctly.
Next, insert the MicroSD card into the Raspberry Pi. This will act as the memory for your dash cam, capturing all those crucial moments on the road. Make sure it’s properly inserted and formatted.
After that, connect the power supply. You’ll want to test it to ensure that the Raspberry Pi powers up correctly and that the camera module is functioning. A quick test run will let you see if everything is working smoothly.
Programming Your Dash Cam
Alright, this might sound a bit technical, but stick with me! You’ll need to set up your Raspberry Pi with the necessary software to record video. There are plenty of tutorials online that can walk you through this process, but essentially, you’ll be installing a program that captures video from the camera module and saves it to your MicroSD card.
Think of this as teaching your car dash cam how to operate . Just like teaching a puppy new tricks, it might take a bit of patience, but the results will be worth it.
Mounting Your Dash Camera
Here’s where the real magic happens. You need to find the perfect spot in your car to mount your DIY dash cam. Ideally, you want it positioned where it has a clear view of the road ahead. A common spot is near your rearview mirror. Secure it with an adhesive mount or in an enclosure that can be attached to the windshield.
Be sure that it doesn’t obstruct your view while driving. Safety first, after all! This is where your dash cam will start doing its job, capturing every detail of your journey.
Test Drive: Checking Your Dash Camera
Before you hit the road for a long trip, it’s crucial to test your dash camera. Take a short drive and review the footage. Check for clarity, and ensure the camera captures all necessary angles. Adjust the positioning if needed.
Let me share a little story here. A few years ago, a friend of mine took a spontaneous road trip through Knysna. The roads were winding and beautiful, but his standard dash camera failed to capture the stunning scenery. If he’d had a DIY setup like yours, he could’ve had a custom camera tailored perfectly to his needs, capturing those moments flawlessly.
Maintaining Your Dash Camera
Once your DIY dash cam is up and running, it’s essential to maintain it. Regularly check the footage, clean the lens, and ensure the power supply is stable. You don’t want to miss out on critical moments due to a simple oversight.
Think of it like taking care of a new pet. With a bit of regular upkeep, your dash camera will continue to serve you well, ensuring every mile you drive is documented.
Why Build Your Own Dash Cam?
You might wonder why go through the effort of building a dash cam when there are plenty of options available for purchase. The answer is simple: customization and cost. Building your own allows you to tailor the dash camera to your specific needs and preferences, often at a fraction of the cost of pre-built models.
Plus, there’s a certain satisfaction in knowing that you created it yourself. It’s not just a piece of technology; it’s a testament to your skills and ingenuity.
Final Thoughts
So there you have it—a comprehensive guide to building your own affordable dash cam. Remember, the journey of creating your dash camera is as rewarding as the final product itself. You’re not just making a tool; you’re crafting a piece of tech that will accompany you on countless adventures.
Next time you’re on the road, think of your DIY dash cam as a trusted companion, capturing every twist and turn. Enjoy the process, and safe driving!
This website uses cookies so that we can provide you with the best user experience possible. Cookie information is stored in your browser and performs functions such as recognising you when you return to our website and helping our team to understand which sections of the website you find most interesting and useful.
Strictly Necessary Cookies
Strictly Necessary Cookie should be enabled at all times so that we can save your preferences for cookie settings.
If you disable this cookie, we will not be able to save your preferences. This means that every time you visit this website you will need to enable or disable cookies again.


